
Painting miniatures and figures for board games can seem intimidating, but it’s easier than you think. With some simple techniques, basic supplies, and a bit of practice, anyone can paint quality game pieces that will impress their fellow players.
In this complete guide, as a professional board game manufacturer, I’ll cover everything you need to know to get started painting your own miniatures, including:
- Essential painting supplies
- Prepping figures for maximum adhesion
- Basecoating for a smooth foundation
- Easy wash techniques for instant shading
- Drybrushing for natural highlights
- Basing for added realism
- Clear coating to protect your hard work
Even if you’ve never picked up a paint brush, you’ll be amazed by the results you can achieve. So grab your favorite game and let’s level up those plain gray figures!
How to Paint Board Game Figures?
Gather Your Painting Supplies
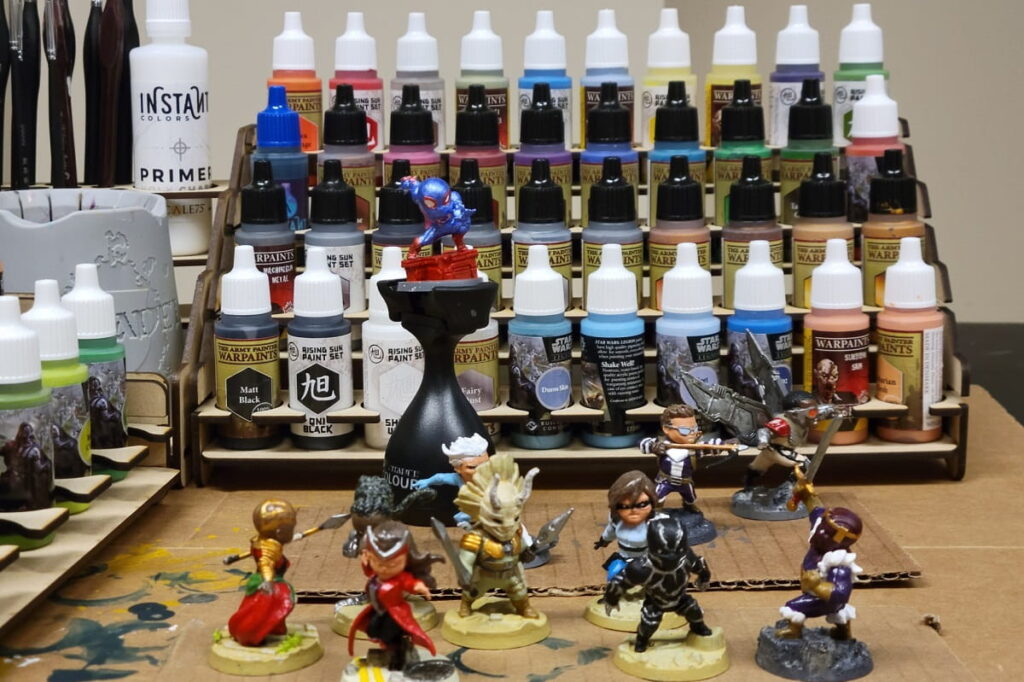
You don’t need an elaborate setup to paint quality miniatures. Here is the shortlist of essential supplies:
Paints
- Acrylic paints are the best choice for hand painting miniatures. They offer vivid colors, thin consistency for blending, and are non-toxic.
- Primer provides the bonding layer acrylic paint needs to adhere to the figure material. White and grey are good neutral options.
- Washes are heavily diluted acrylic paints that naturally flow into crevices for automatic shading.
- Metallic paints lend a authentic gleam for weapons, armor, gold piles and more.
Brushes
- A few sizes of round brushes for detail work. Sizes 0 and 2/0 are good starters.
- Flatter brushes around size 4 for drybrushing and basecoating larger areas.
- An old toothbrush actually works great for drybrushing!
Other Handy Tools
- Hobby knife for removing mold lines and flash
- Side cutters to free figures from sprues
- Super glue to assemble multi-part models
- Basing supplies like sand, rocks, and terrain bits
- Varnish to protect completed paint jobs
And that’s it! Now let’s prep our figures.
Prepare Figures for Painting
Before applying any paint, we need to get our miniatures ready with a few simple preparation steps:
1. Remove Mold Lines and Flash
Carefully trim away any excess plastic and line imperfections with a hobby knife or nail clippers. This ensures the figure has a smooth, clean surface for painting.
2. Wash the Miniature
Give the figure a bath in warm, soapy water to remove any oil or residue from production and handling. Let it dry fully before priming.
3. Assemble Components
For multi-part models, glue components together with plastic cement or super glue. Scrape away any excess glue once dry.
4. Prime Your Figures
After washing, apply 1-2 thin coats of primer engineered for miniatures and models. This gives paint an adhering layer.
Once prepped, we can start applying paint!
Basecoat Miniatures
Basecoating forms the foundation for the rest of your paint job. Here are some tips:
1. Choose Schemes
Plan 1-3 core colors for your figure. Simple is best to start. You can always add complexity later once basics are mastered!
2. Thin Your Paints
The consistency of milk is ideal – not too watery but flows smoothly from your brush. Thin with a paint medium or water.
3. Apply Basecoat Colors
Use your flat brush to apply thinned layers of base colors, leaving darker areas like shadows and recesses alone. Allow each layer to dry before adding another.
4. Touch Up Mistakes
If you get some paint where you don’t want it, simply let it dry fully and paint over the error with your base color. Acrylic layers well when dry.
Once based, it’s time apply some quick shade with…
Washing for Instant Shading
Washes flow into crevices, automatically creating shade and depth. Here’s how:
1. Choose a Wash Color
Pick a darker tone of your basecoat color. Or go with a neutral black or brown wash.
2. Apply Wash Overall
Load up your brush and apply the wash all over the figure. A little goes a long way!
3. Clean Up if Needed
Use your basecolor to tidy up any wash pools on flat surfaces. Or leave it – washes create a grimdark, weathered look.
Shading complete! Now let’s work on some higlights.
Drybrushing for Natural Highlights
Drybrushing dusts light colors onto raised edges and surfaces:
1. Get a Drybrush
Use an old toothbrush, makeup brush, or stiff-bristled hobby brush. The stiffness is key!
2. Pick a Drybrush Color
Choose a lighter tone near your basecoat color. Mix in some white if needed. Grey works universally.
3. Load and Wipe Your Brush
Dip just the tip of the brush in paint, then wipe most back off on a paper towel or rag.
4. Lightly Brush Raised Areas
Gently sweep across edges and surfaces until they pick up faint highlights. Apply more pressure for brighter accents if desired.
And we’re done with the figure itself! Now let’s base ’em up…
Basing for Maximum Impact
A well executed base makes any game piece more immersive on the tabletop.
1. Affix to Base
If not preslotted, fix the figure to its base with hot glue, poster tack, or small dabs of superglue.
2. Apply Basics
Spread flat areas with filler like wood putty or acrylic medium. Or just basecoat with paint.
3. Add Ground Elements
Affix sand, small rocks, roots, grass tufts or other bits with white glue or superglue. Sprinkle extras over wet glue for randomness!
4. Paint & Drybrush
Basecoat ground elements, then drybrush for highlights. Repeat layers until satisfied!
Let’s seal this masterpiece so it lasts…
Clear Coat for Protection
Preserve your hard work with a protective sealant:
1. Work in a Dust-Free Area
For best results, seal models somewhere lint and pet hair can’t ruin your finish!
2. Apply in Light Layers
Spray from around 8 inches away, allowing 10 minutes or so between applications. Two thin coats is ideal.
3. Consider Satin or Gloss
Satin provides a nice compromise between stark matte and overly glossy. Gloss coats really make metals shine!
4. Display Your Awesome Figures
Now that they’re clear coated, enhanced miniatures are ready for play without fear of paint damage!
In Summary
And that’s my complete guide on painting and preparing miniatures for improved game immersion! I recommend trying the techniques on some spare figures or cheaper toys, painting and stripping them repeatedly to get a feel for how the basics work in practice.
Before you know it, you’ll have a collection of minis to be truly proud of! Now let’s get our game on!


